Well, friends, this little project is really coming along! I was able to cross #2 off this list today.
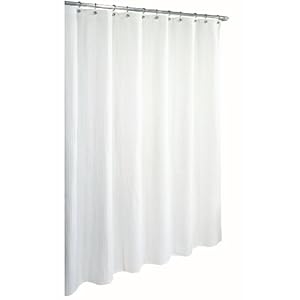
1. Remove the old shower curtain rod and hang much higher. This will give the illusion of higher ceilings. Also, replace the standard size shower curtain with an extra-long, 96" white one.
2. Add a window treatment to the empty window.
3. Remove the unframed mirror above the sink and replace with a framed mirror, then hang the mirror higher. Replace molding strip where the mirror used to "sit".
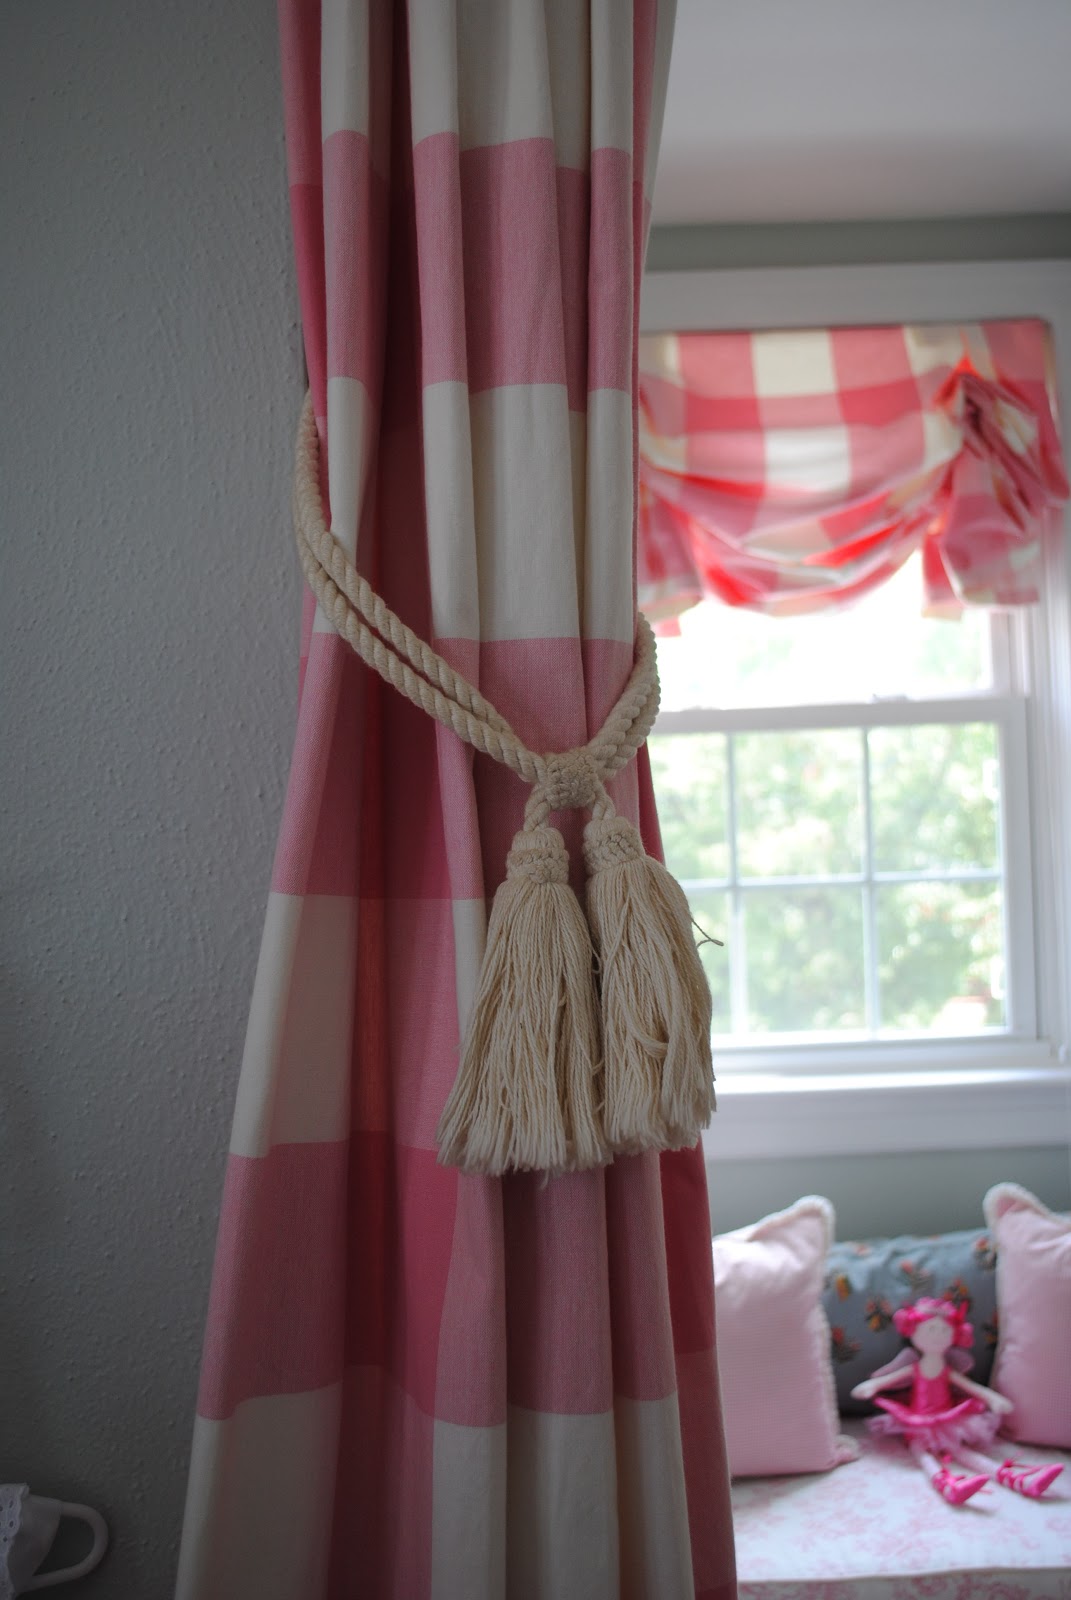
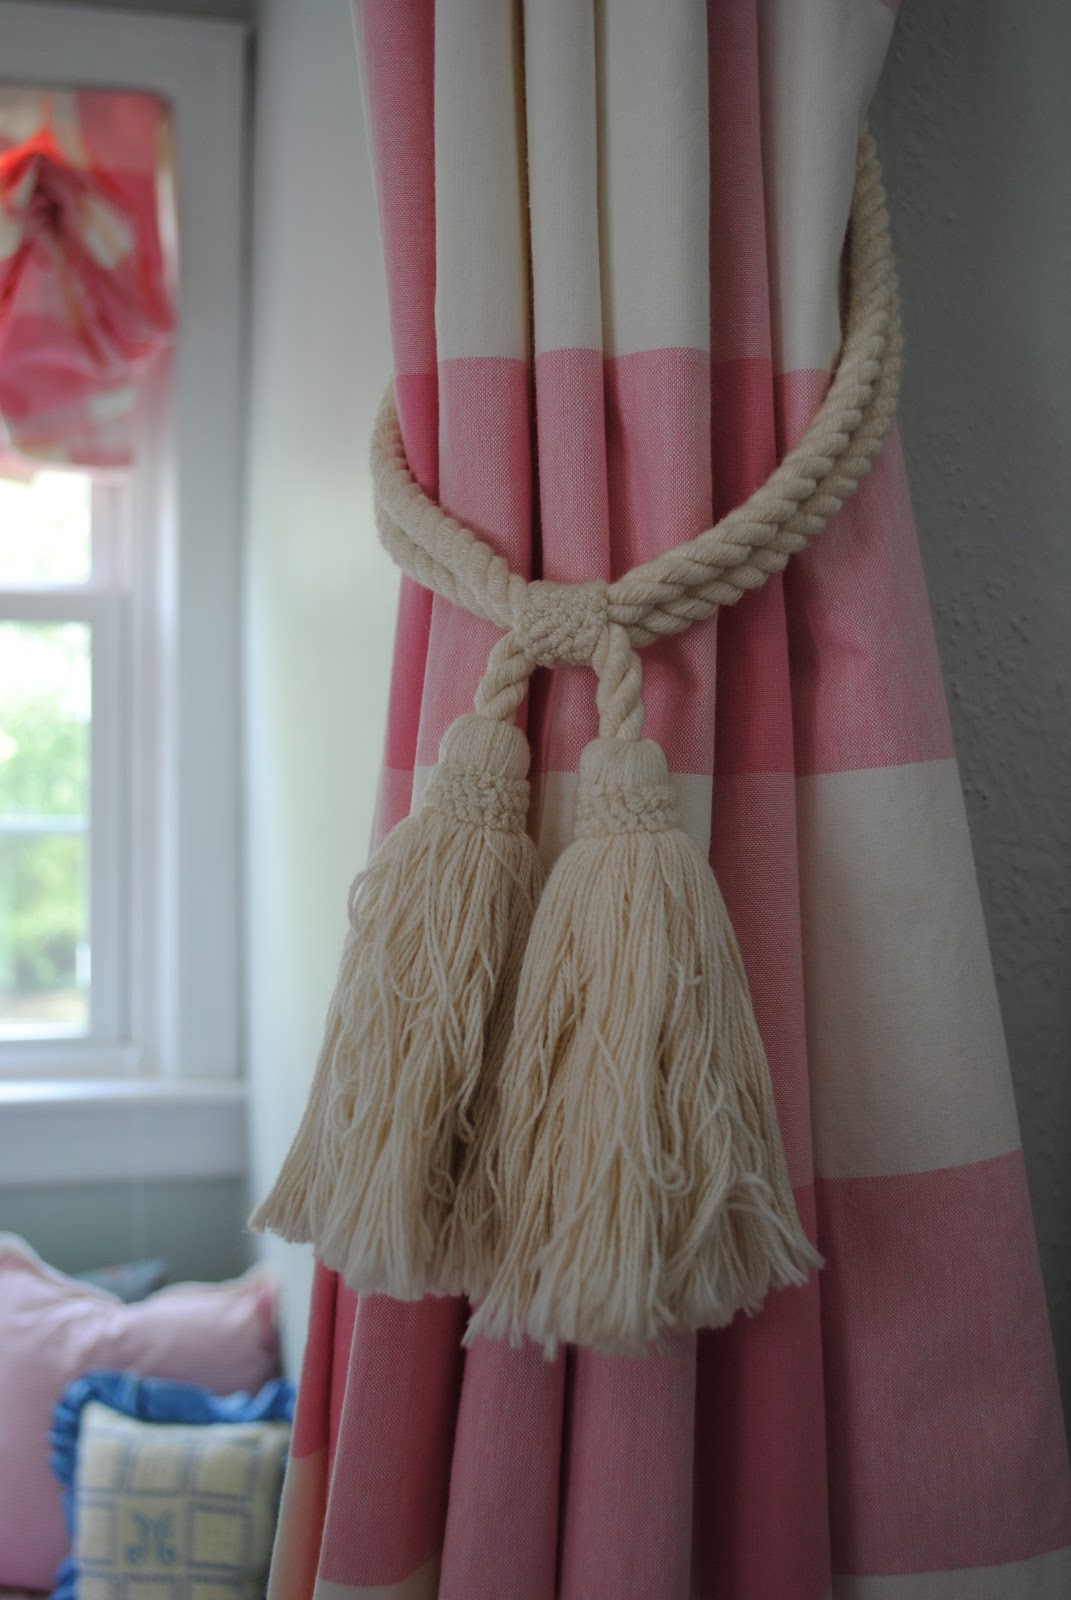
4. I love the wainscoting and the glass knobs (instant cottage character), but I need to add a new rug and accessories to make the space look finished.
5. Organize the drawers and cabinets so that I can easily access toiletries, make-up, medicines, etc.
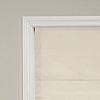
I found this really great fabric 4o% off $25 a yard at Joanne's Fabric. I love the oatmeal brown color and all the texture! It is similar to the burlap I love so much, but I am beating that dead horse to death, so I thought I would slightly switch it up. I only needed a couple of yards for a simple London shade. So I spent $30 on fabric and the trim was on sale for $3.50 a yard.
I then dropped my materials off at my favorite seamstress and she worked up a little London shade for me. This project, all in, cost a little less than $150. Not bad, but a gentle reminder that I need to learn how to sew!
Okay, just so you know, here is a little Shade 101 in case you need to brush up on your know...
London Shade
Balloon Shade
Roman Shade
 Fold or Pleated Shade
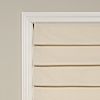
I measured the spot on the shade where I wanted to drill and marked it with a black dot. I also measured the same amount on the window sill (these shades are an inside mount), and drilled through both.
I then screwed the shade into the sill. It took me about 10 minutes. I'm getting pretty handy with that drill!
And here is the finished product. I love how much charm this little shade adds to this bathroom!