Did you think I forgot about my bathroom projects? Not a chance! It's just that...well...project 3 took a bit more time than expected. I even had to bring in the big gun...my dad! LOL! I am SO happy to cross #3 off the list!
4. I love the wainscoting and the glass knobs (instant cottage character), but I need to add a new rug and accessories to make the space look finished.
5. Organize the drawers and cabinets so that I can easily access toiletries, make-up, medicines, etc.
 |
| Mirror and trim BEFORE |
Before I started this project I took a little trip to Lowes and purchased all the materials I would need:
Molding - 2 types - one for the frame and one for the trim ($25 total)
Flat Mounting Kit ($2.65)
Liquid Nails ($4.50)
Spackling (already had)
Fine grit sandpaper (already had)
Okay, so I started by removing the existing mirror. This is the little "surprise" I found beneath. Huh? Removed all that strangeness. Oh, and let me apologize in advance for the horrible photos! It was raining the entire weekend and I had ZERO light source (other than that REALLY bright overhead light)!
I then had my dad help me lift the mirror up and rehang higher and using the flat mounting clips. I chose these so that when we added the molding it would lay over the hardware.
You can see where the molding is missing so instead of just patching the one area we dad replaced all of it. Okay, little bit of a blooper here. I should have painted all of the trim BEFORE dad put it up. It just added more work...and the dreaded painters tape later. Ugghhh!
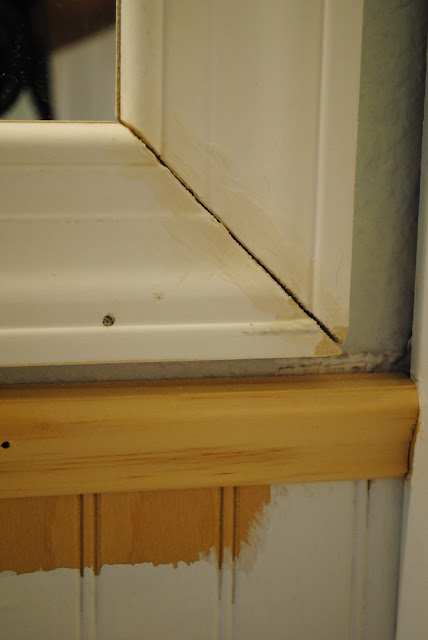
Now, the next part was where things got a little complicated! I purchased a simple 2 1/2 inch molding for the frame. Measured the length for each side, then had my dad cut each end at 45 degree angles. That was the hardest part - getting the molding measured and cut. We measured and remeasured several times to make sure our math was correct. Math is not my strong suit! Thank goodness for dear 'ol daddy-o!
After we had the materials I just added a little Liquid Nails to the back of each section of molding and glued them to the edge of the mirror. Dad also added a few little nails for extra support. I let everything dry overnight.
Where the corners meet there was a small gap of space, so I spackled the space and let dry. I then sanded everything down until it was nice and smooth.
The final step was to paint everything white using a semi-gloss, latex trim paint. Again, I should have painted everything in advance, but oh well, I'm a DIY amateur.
 |
| Mirror and trim AFTER |


Luuuv the bee painting! Did you paint it? If not, would you tell me the source? [I'm a beekeeper.]
ReplyDelete